

Hello friends! Welcome to my blog! Today, I will be sharing my first ever craft post! I made the one on the right and my friend, Rachel made the one on the left! I got my inspiration from The Harpster Home Blog! You guys should go check her out and follow her on Pinterest, HERE. I think my finished product looks pretty rad. First things first, the materials.

You will need: A Hammer, Nails (I used a little less than 100), Yarn in your color of choice, tape, a stencil (this one was just printed from the Internet), and a wooden slab (I was going for the rustic look,
but you could also use a regular wood base or even paint one). Also a pencil and scissors.
Prep: Print and cut out the outline of California (or any state really!) Be sure to cut the stencil in a way that incorporates all the curves and grooves.
Step 1: Tape the Stencil onto the Slab

Step 2: Hammer the Nails


*TIP* If the wood is soft enough, try pushing the nail into place a little bit.
Lightly hammer the nails into the slab around the OUTSIDE the outline of the stencil, this will make it easier to remove the paper later. The nails should be hammered in enough to be sturdy, but sticking out enough to wrap the string around them later. We chose these steel nails from Joanns because they had the rustic look that complimented the tree bark.
Step 3: Check Nail Sturdiness


Make sure every nail is secure and not wiggling. This will create BIG problems when you are doing the stringing. I hammered over my outline a few times to make sure.
Step 4: Remove the Stencil

I was already excited at this point! Remove the stencil carefully, as to not disturb all your hard earned nail work. A paper stencil is great because even if you accidentally hammer the nail onto in, it will come right off.
Step 5: Add the Heart


Depending on your artistic abilities, either draw or stencil a heart inside the state. Ideally, the heart will be a decent size and towards the center, but I wanted mine located by my hometown.
Step 5: Nail the Heart

Step 5: Knot The String

To begin, tie a strong knot to one of the nails with your yarn. I started mine on the top left. This will be the nail you start and end with. Make the knot strong, with plenty of slack (you can cut it off later.) You will NOT cut the yarn until the very end. The whole thing is just one entire long piece of yarn.
Step 5: Wrap The Yarn Around Each Nail

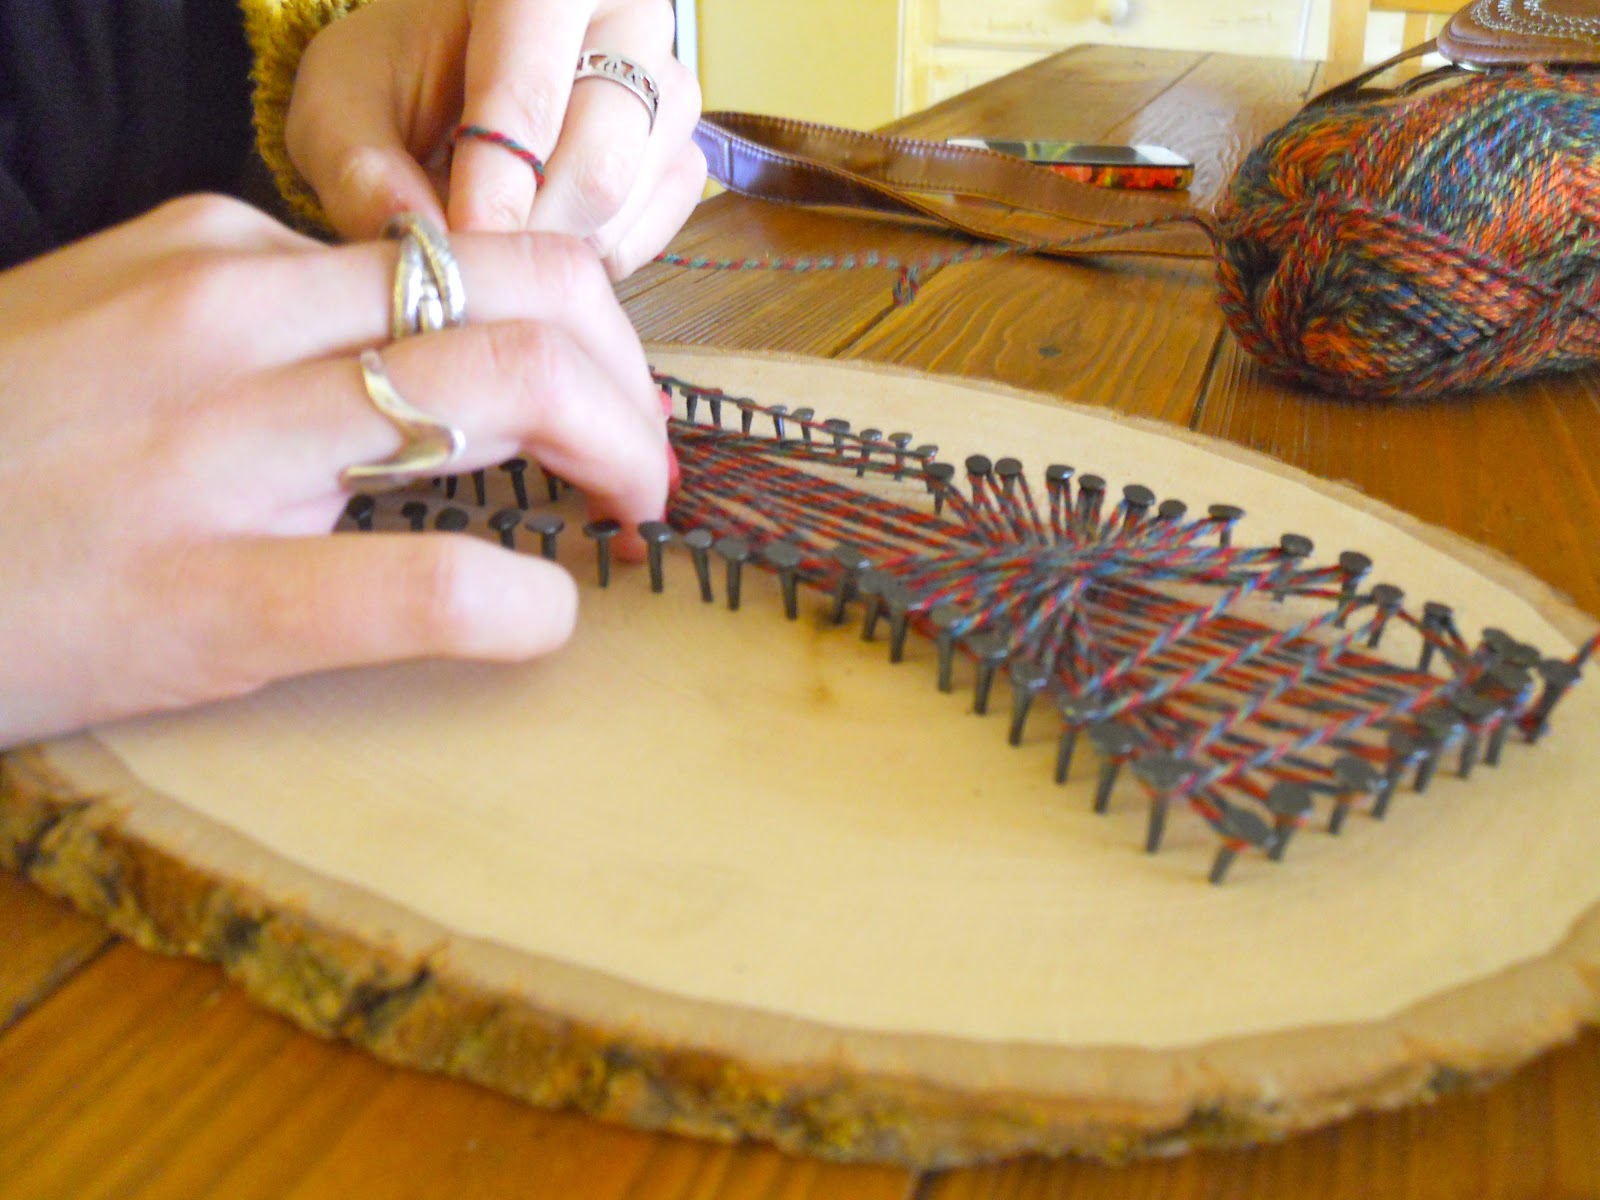

Starting with your first nail, wrap the string around the closest point on the heart. This is where looking at the picture is more helpful than an explanation. You will wrap the string around each individual nail on the outline ONCE and around the nails on the heart MULTIPLE times. I chose this sunburst pattern, but as you can see above, Rachel opted for a different design. It is really up to you. Just keep the string tight, but don't tug too tight because you don't want to bend the nails of have the string pop up! If this does happen, you can either start over, try and fix it, or cut the yarn, tie a knot where the design is still in tact. And restart the design from another nail. (I doubt anyone would notice.)
Step 5: Tie The Last Knot

After a little while, you will eventually have strung your way all the way around and back to the nail you started with. Tie another strong knot, and cut off the excess.
Step 6: Admire Your Work!


Let me know how your version goes! Thanks for stopping by and Happy Crafting!
-ℒ
PS: Let's Connect!
No comments:
Post a Comment